
 Trace the outlines of your file on paper then adding and marking a quarter inch seam allowance to the long sides on the top and bottom for the binding and a half an inch to the shorter left and right sides. This allows for space when the file is closed and the quarter inch for the binding. I also marked the middle panel on my paper pattern.
 I cut a double layer of fabric somewhat larger than my pattern as I wanted to quilt the cover. The quilting however can be omitted. I did all-over quilting first in a variegated purple thread and then echoed these with a variegated green. When not quilting (or when done quilting), you can cut the fabric the size of your paper pattern. I marked the cover with all the seam lines as well as the middle panel to make placement of the outside pocket easier.

 I selected a novelty print for the outside front pocket and quilted this too before adding a quarter inch binding around the edges. The pocket was stitched in the ditch where the binding was stitched on. I also added a magnetic fastener for the pocket to close but this too can be skipped.
 For the size of the inside flaps I marked in 9 inches from the short side of my paper pattern. You can make these as wide or as narrow as you want but if much wider you might have to fold the file sides all the way to the back to be able to get the cover over. Cut 2 in fabric. Mark a quarter inch on one long side of each flap.
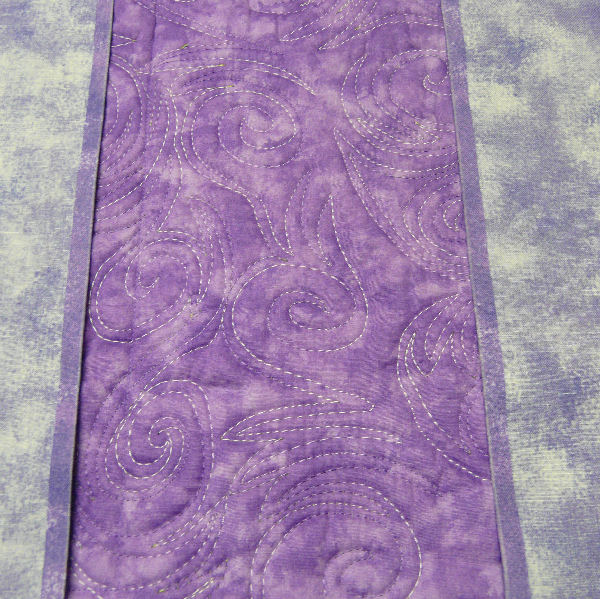
Iron a fold on the line folding fabric wrong sides together to create a quarter inch seam then fold over once more and stitch this seam. (The flaps are still not stitched to the main cover).


Then you need to decide what (and if) you want to add to the inside flaps. I decided on an elastic strip to hold pens and a smaller pocket.
I drew a pattern for the pocket – mine was a 5 inch square and cut 2 layers from my selection for the pocket fabric the size of the paper pattern.


I stitched around 3 sides of the square right sides together then turning it inside out and then marked the bottom edge of this pocket placement on the inside front flap.


The open edge of the pocket is placed on the marked line for the bottom of the pocket and then stitched down – this might look upside down but it should be this way. Then fold the pocket up onto the inside flap and topstitch around the 3 sides leaving the top open.

You can further decide to add or skip a top flap for the pocket. I drew the closing flap on my pattern then just added quarter inch seam allowance, cut 2 layers of fabric, placed wrong sides together stitched around all the edges except the long edge turned right side out and stitched in similar fashion as the pocket by first placing it with the raw edges towards the pocket, stitched a quarter inch from this edge after which I folded it back onto the pocket and topstitched it.

 Iessie – the one by whom we saw the file cover – also had a pocket in her back flap and she warned that this was totally useless unless you wanted to hide money from your husband in it. So seeing that I made this cover for Karin I decided to add a rather big pocket and have Velcro to secure the open end – we don’t want her hidden money to lose now, do we?
 Once everything you wanted on the inside flaps are stitched down you can simply place these on top of the cover matching raw edges and stay stitch them in place before adding the final binding all around the outside edges of the file.
This is what the end product looks like.


That is no file cover tutorial!!! That is a total makeover for a hum drum paper holder. Wow it really looks nice and I can see how much work you put into it. I know I'd feel proud to open it up and see those pockets and pen holders. Nice job :)
ReplyDeleteSmiles,
Kelly
Wow, this is gorgeous. I love the quilting patterns. Thanks for sharing this. ^^
ReplyDelete